Redis
Redis
VisuaLeaf works with Redis next to your MongoDB and SQL databases. Redis connections sit in the same connection tree, and four tools cover day-to-day work: a key browser with an editor for each data type, a Redis CLI script editor, a Server view with live stats and the slow log, and Users & Security for ACL users.
Quick Start
- Add a Redis connection in the Connection Manager and connect.
- Expand the connection in the sidebar to see its logical databases (DB 0, DB 1, …) and their key namespaces.
- Double-click a database, or choose Browse Keys, to open the key browser.
- Type a pattern such as
user:*and click Scan, then select a key to view and edit it. - Use Open CLI, Open Server Info or Users & Security on the connection's context menu for the other tools.
Connecting to Redis
A Redis connection is created like any other: open the Connection Manager, pick Redis, and enter the host and port, an optional username and password, and the default DB index. Choose the Deployment Mode that matches your server (standalone, Sentinel or Cluster), and add Sentinel or cluster seed nodes when needed. A standalone server can also be reached through an SSH tunnel.
The platform setting tells VisuaLeaf how to manage users: Auto-detect, OSS / Self-managed, Redis Enterprise, Redis Cloud or Valkey / KeyDB. Enterprise and Cloud take the extra API details their user management needs.
Once connected, the connection appears in the same tree as your other databases. Under it you'll find each logical database with its key count, and under each database the key namespaces (the part of a key before the first :). Double-clicking a database or a namespace opens the key browser already filtered to it.
Key Browser
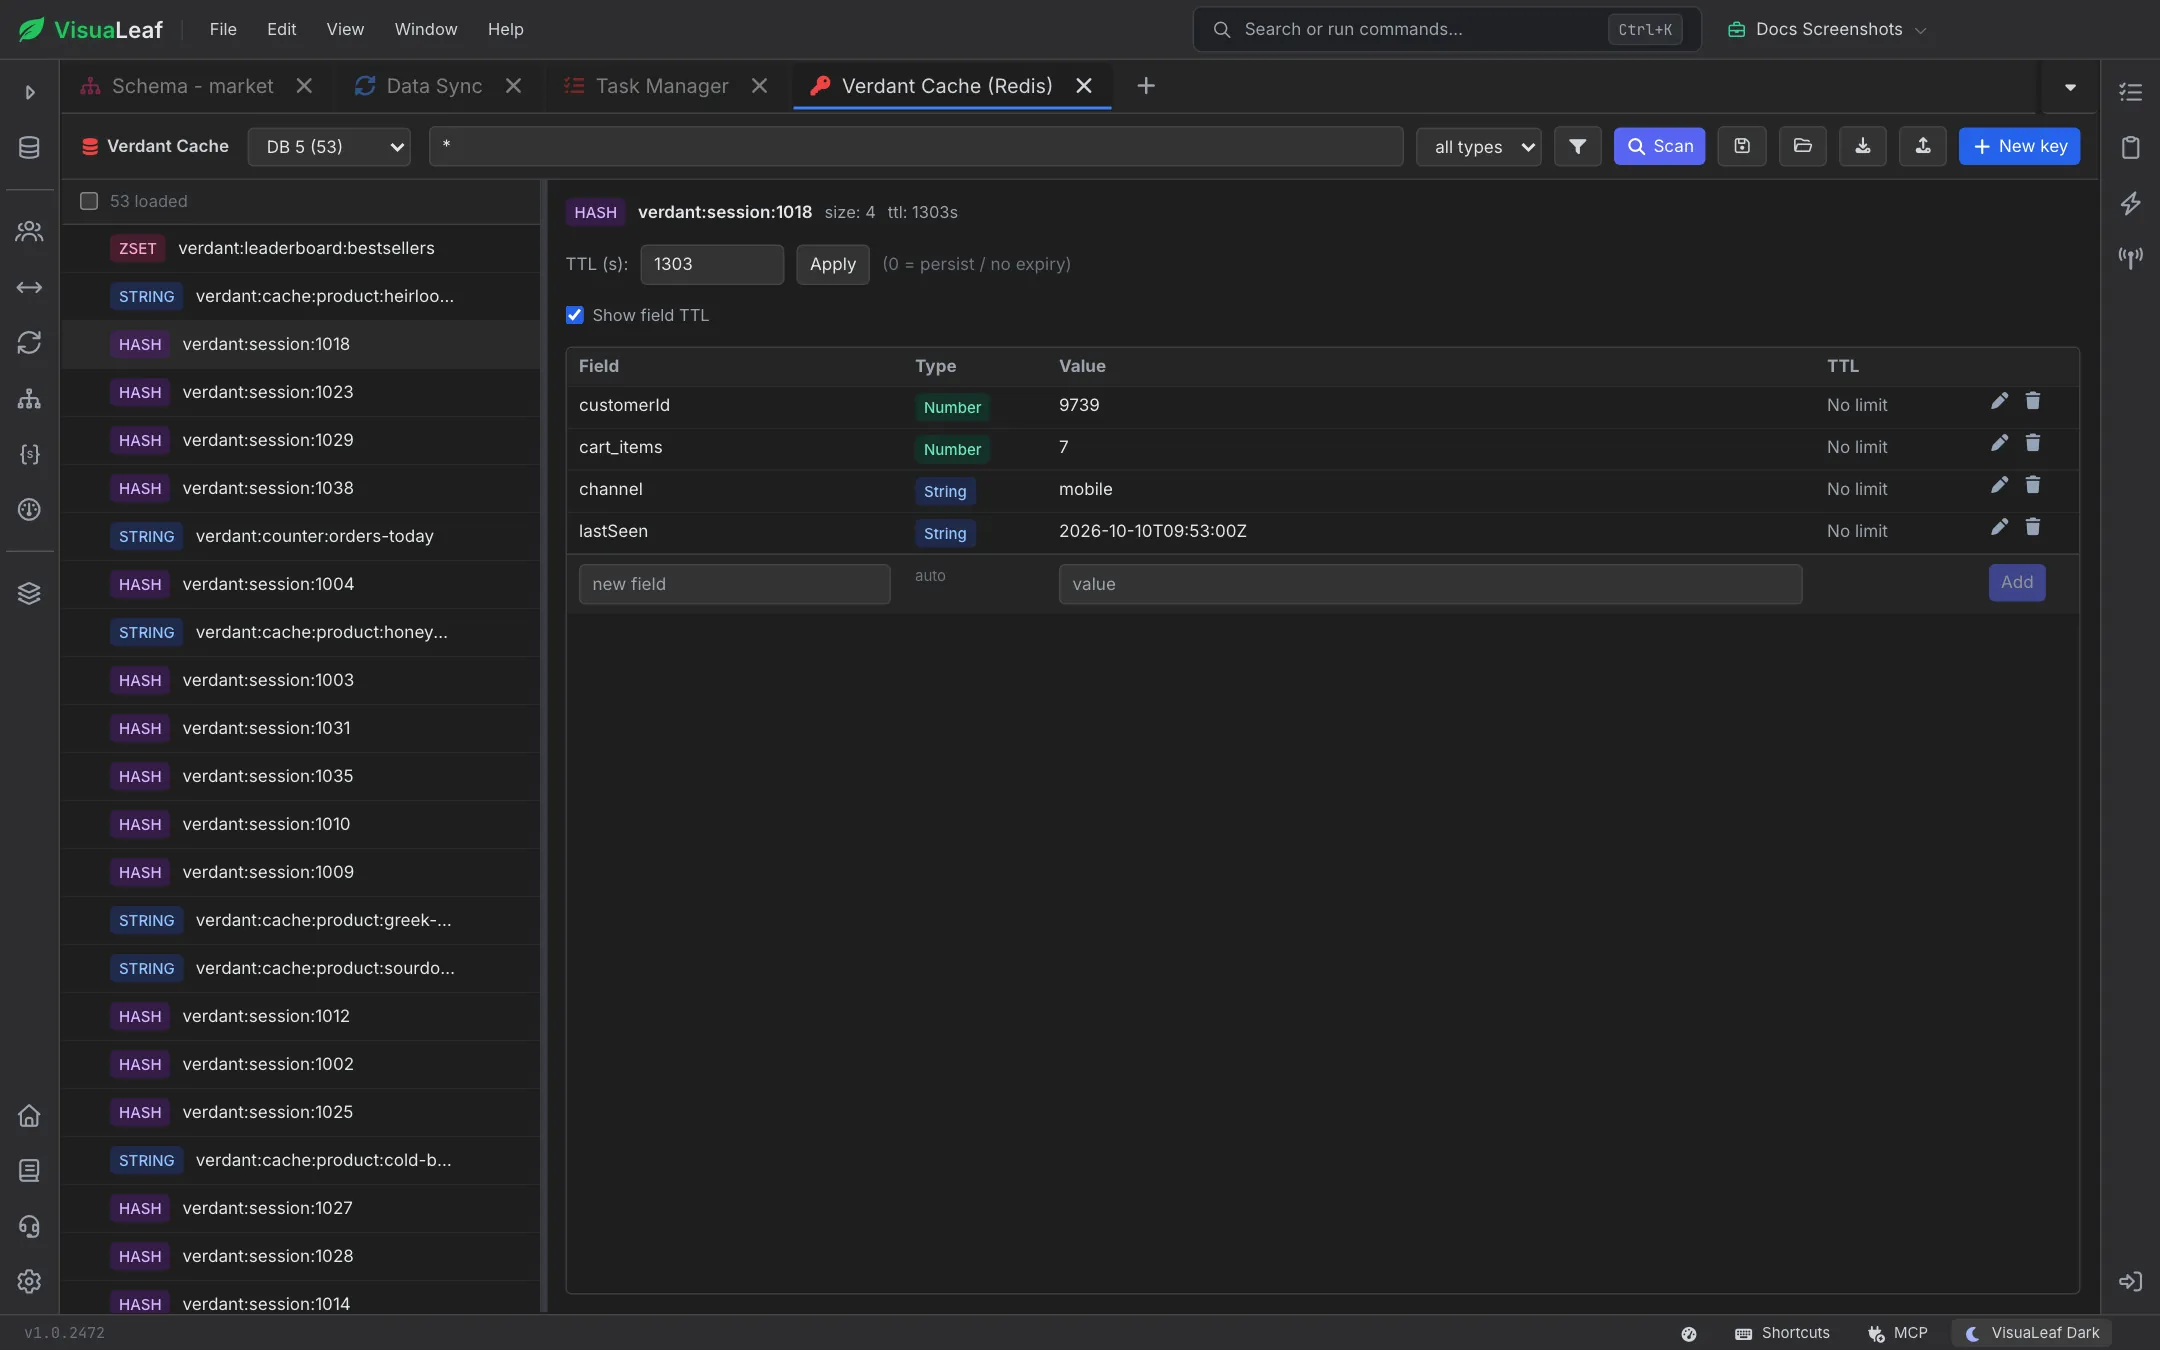
The key browser has a toolbar across the top, the matching keys on the left, and the selected key's value on the right.
Finding Keys
- Database picker: switch logical database; each entry shows its key count.
- Pattern: a glob such as
verdant:*product*. Press Enter or click Scan. - Type filter: all types, or only string, hash, list, set, zset or stream keys.
- Value filter (funnel icon): match hash keys by the value of a field, including paths into JSON stored in a field.
- Save / Load: save the pattern, type filter and value filter as a search and run it again later.
- Export / Import: export the matching keys to JSON, or import keys from a JSON file.
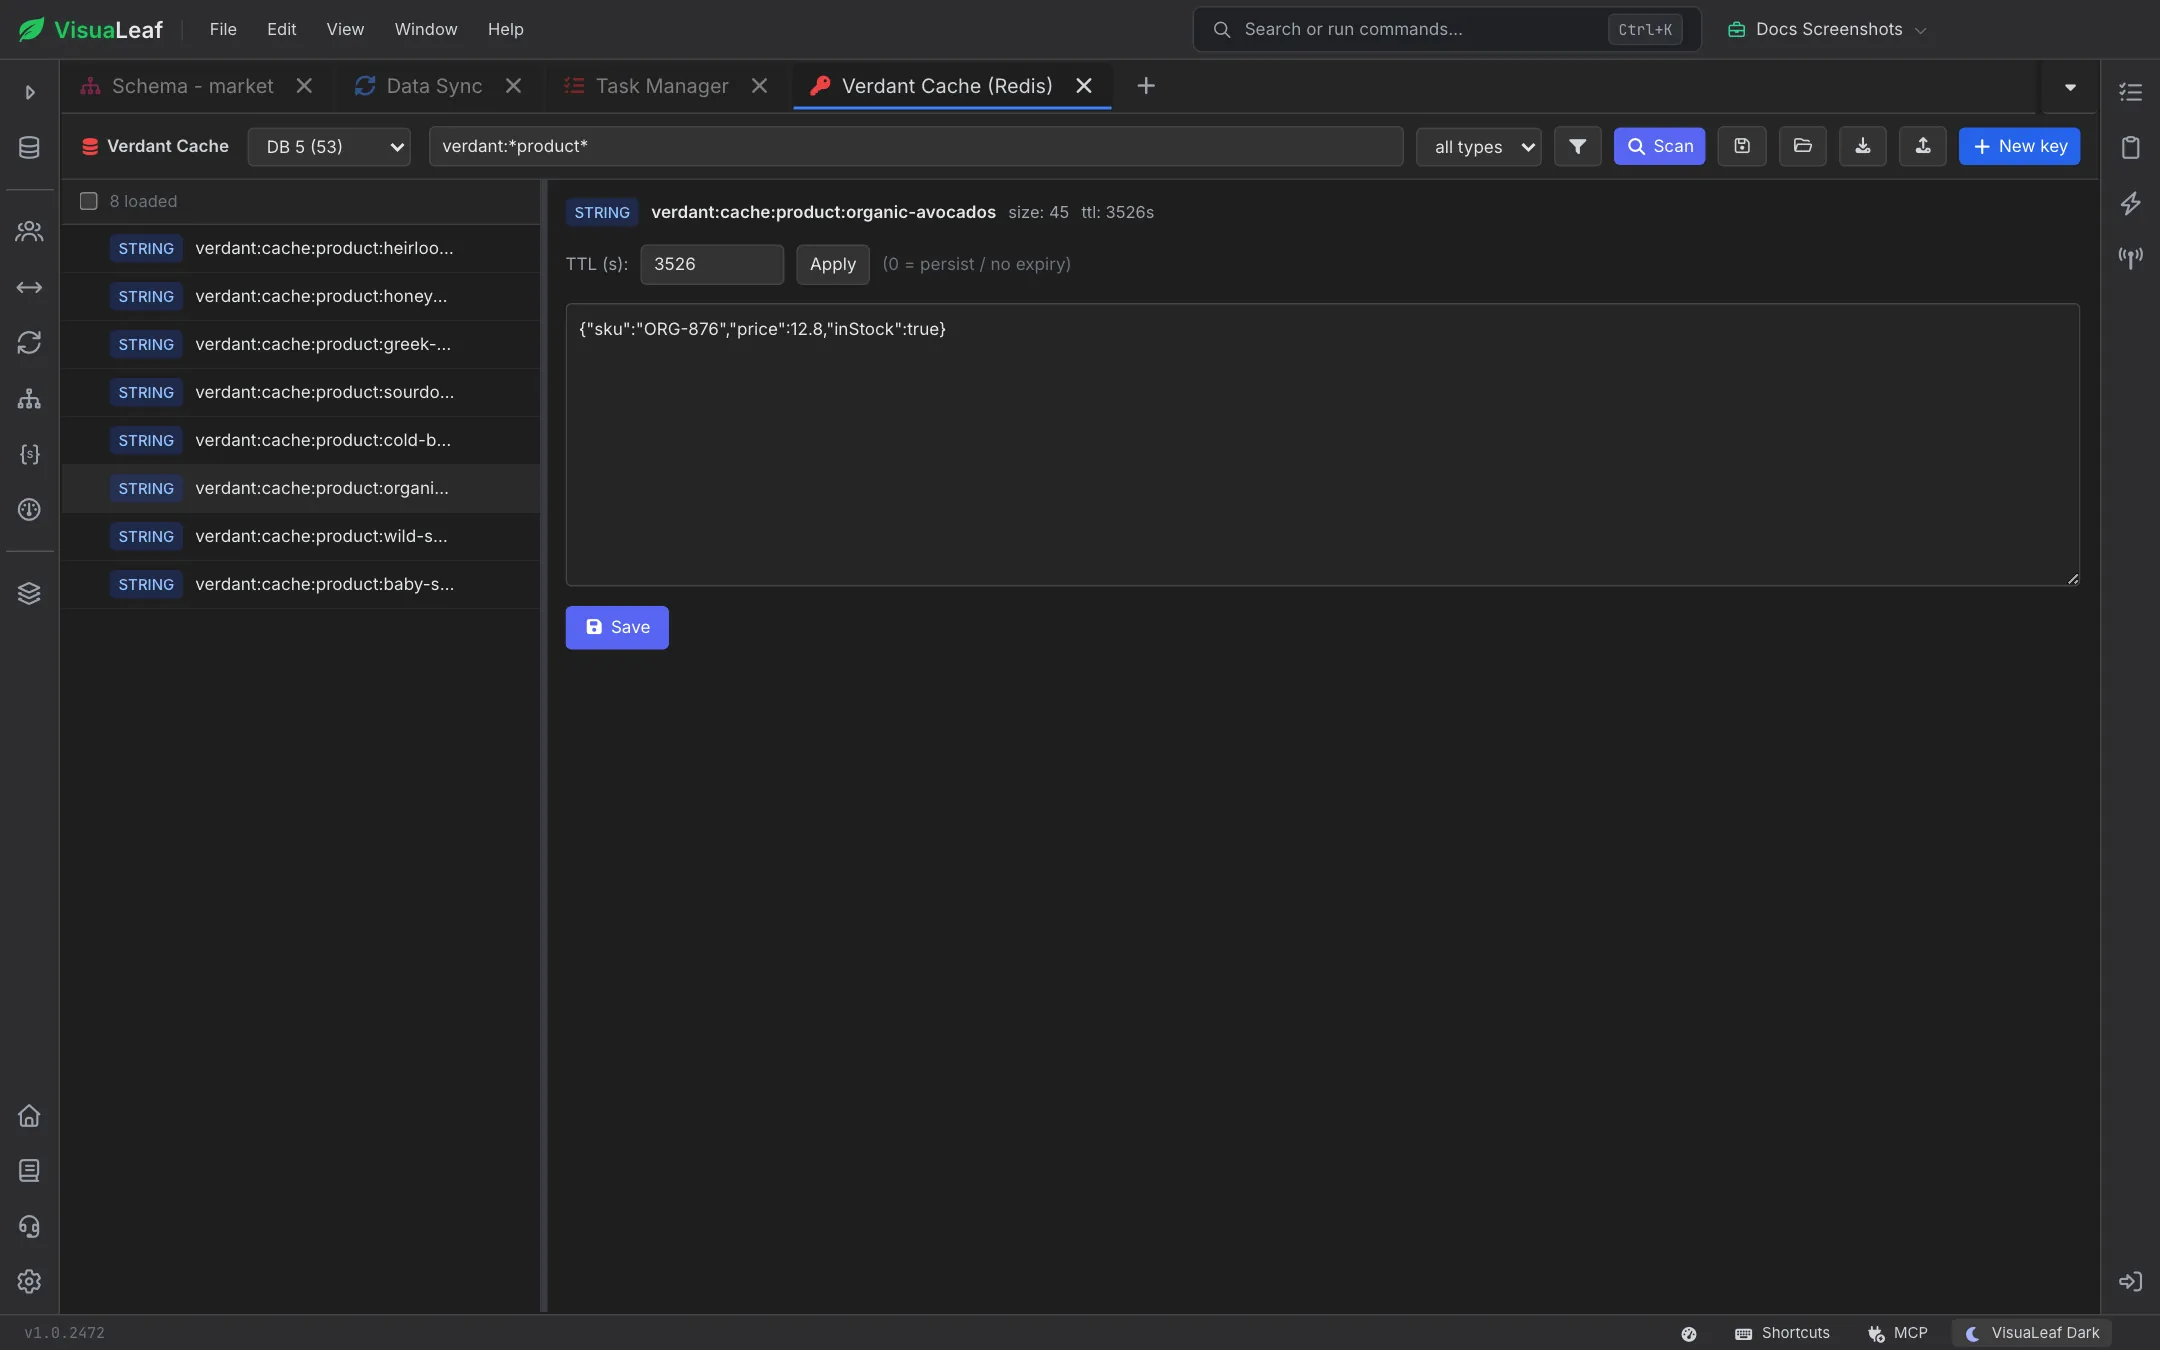
Each key row shows its type badge. Hover a row to rename or delete it. Use the checkboxes to select several keys (shift-click selects a range). New key creates a key of any type.
Editing Values by Type
The value panel shows the key's type, name, size and remaining time to live, and adapts to the data type:
| Type | What you can do |
|---|---|
| String | Edit the value in a text area and click Save. |
| Hash | A table of fields with a detected type (Number, String, JSON, …), value and TTL. Edit or delete any field, add new fields at the bottom, and open JSON values in a tree or code editor. |
| List | Elements with their index. |
| Set | Members with add and remove. |
| Sorted set (zset) | Score and member pairs in score order. Add a member with a score, or remove one. |
| Stream | Entries shown as raw fields. |
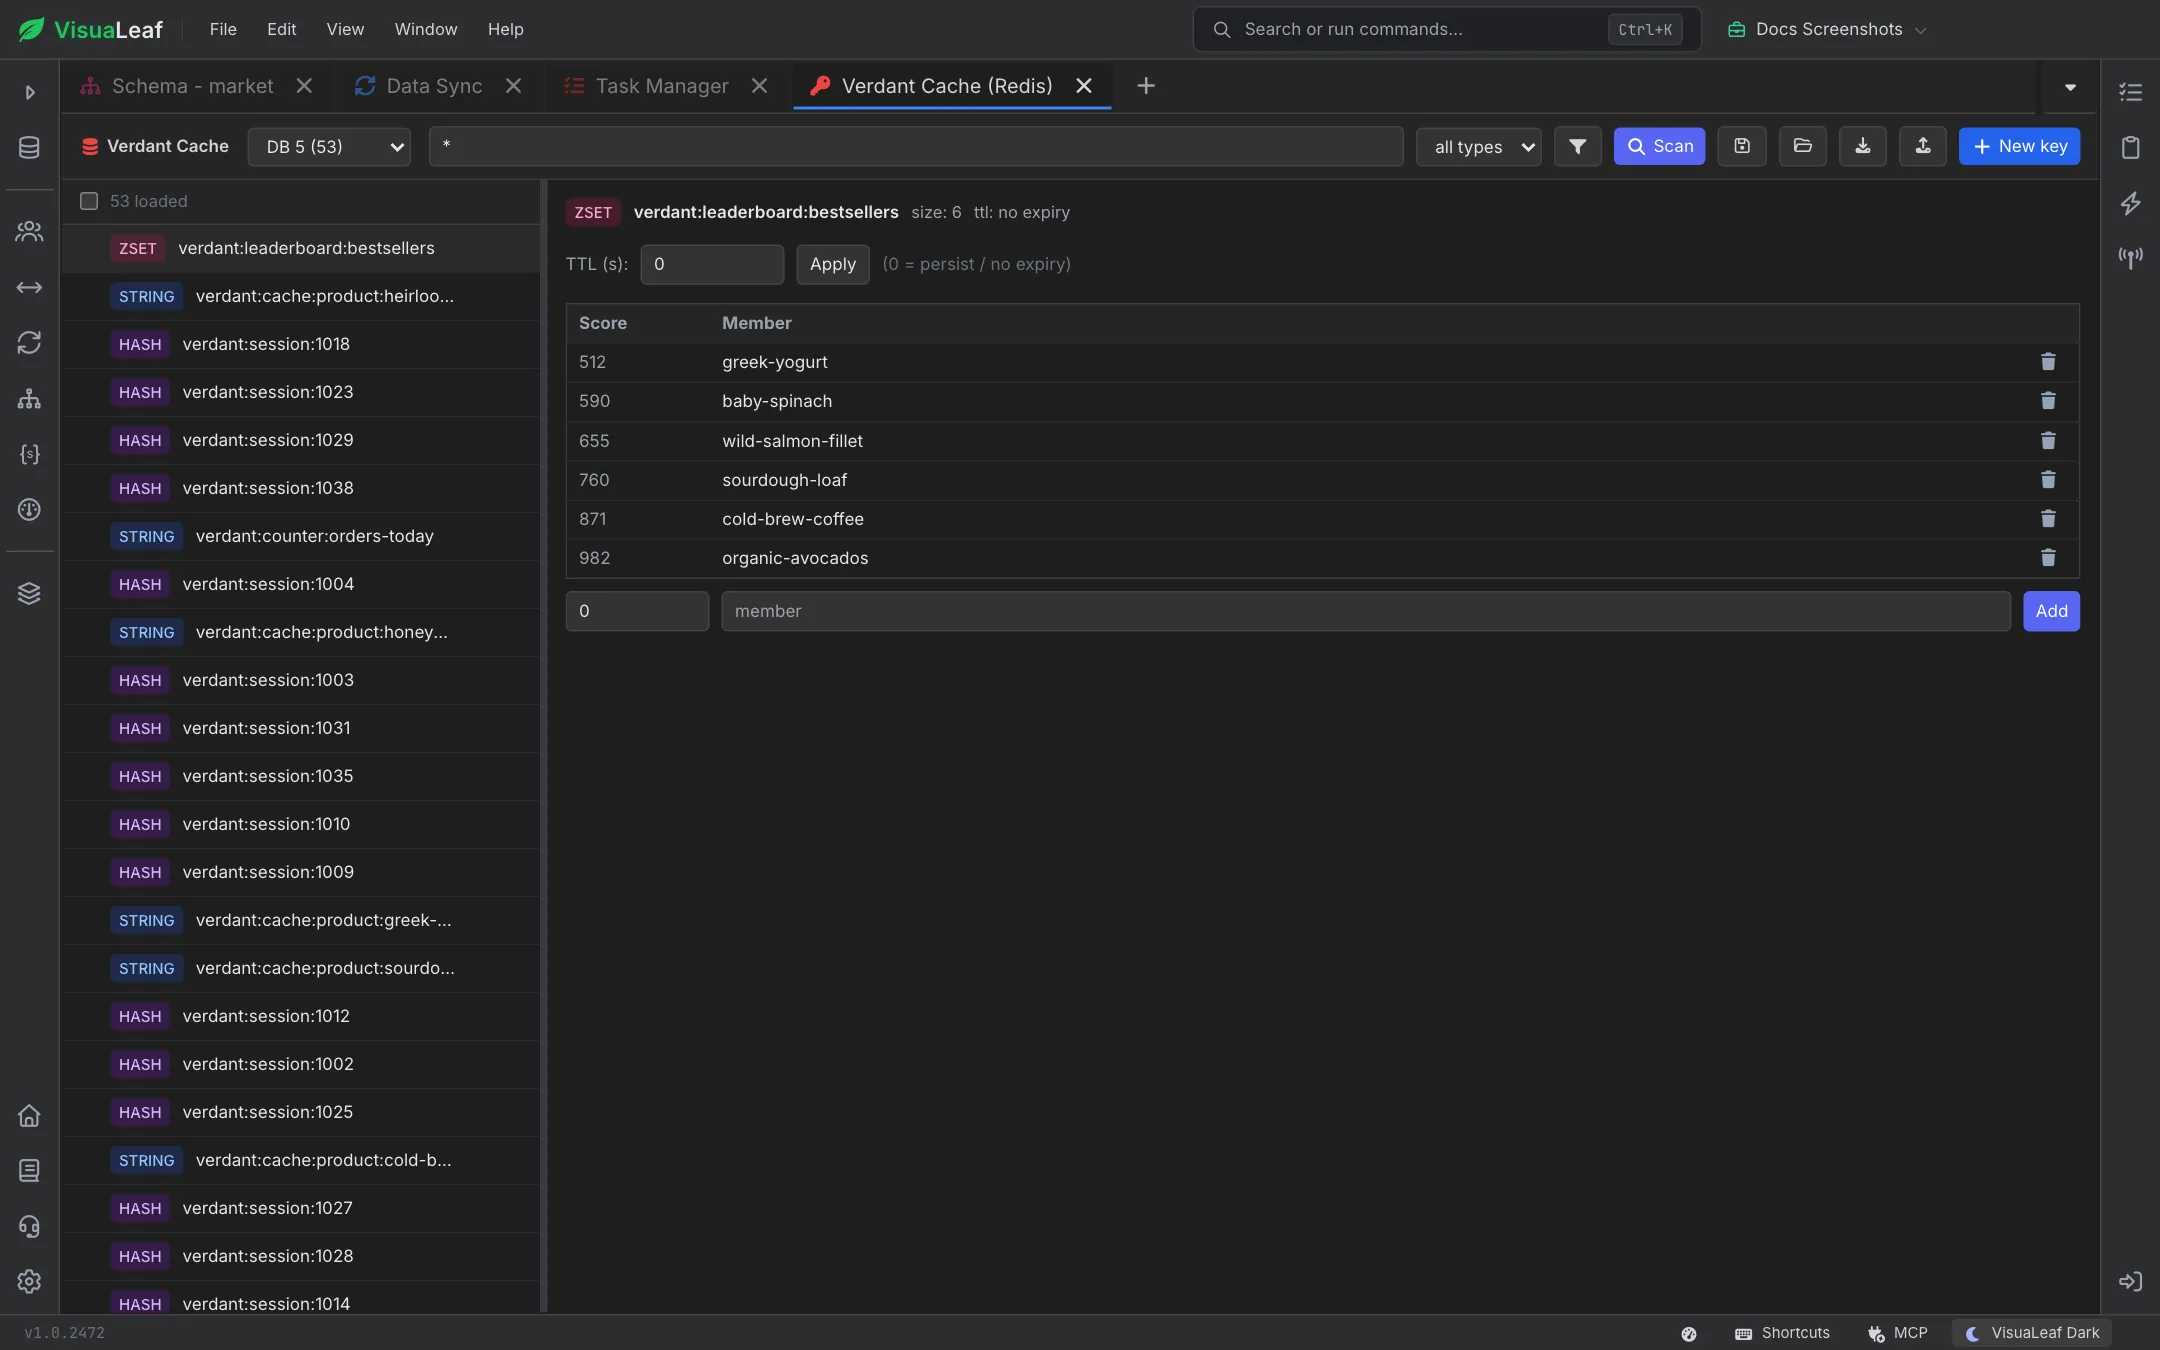
Removing a set or sorted-set member can be undone.
Time to Live (TTL)
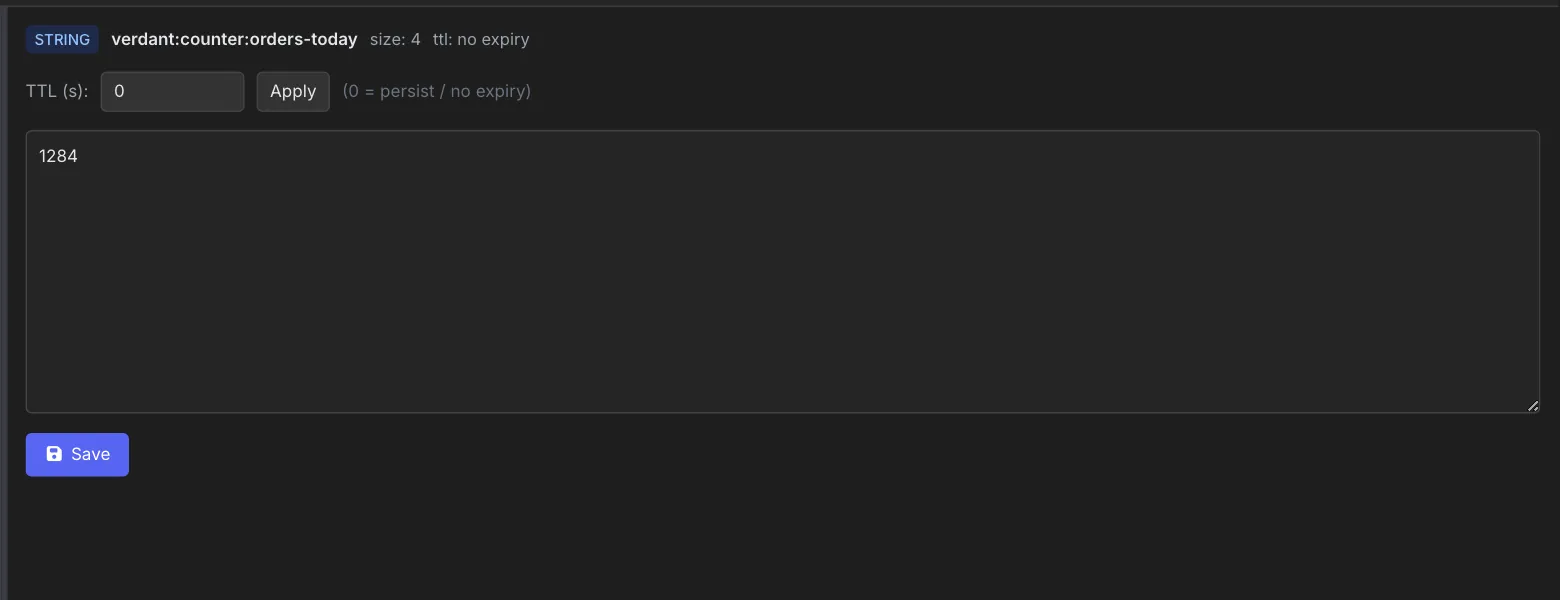
Every key has a TTL (s) box above its value. Enter a number of seconds and click Apply, or enter 0 to make the key persist with no expiry. The header always shows the current TTL. For hashes, tick Show field TTL to see and set an expiry on individual fields.
Redis CLI and Scripts
The Redis CLI is a script editor rather than a one-line prompt. Write several commands, with # comments, and run them together. Each command's reply appears in the output pane below with its own timing.
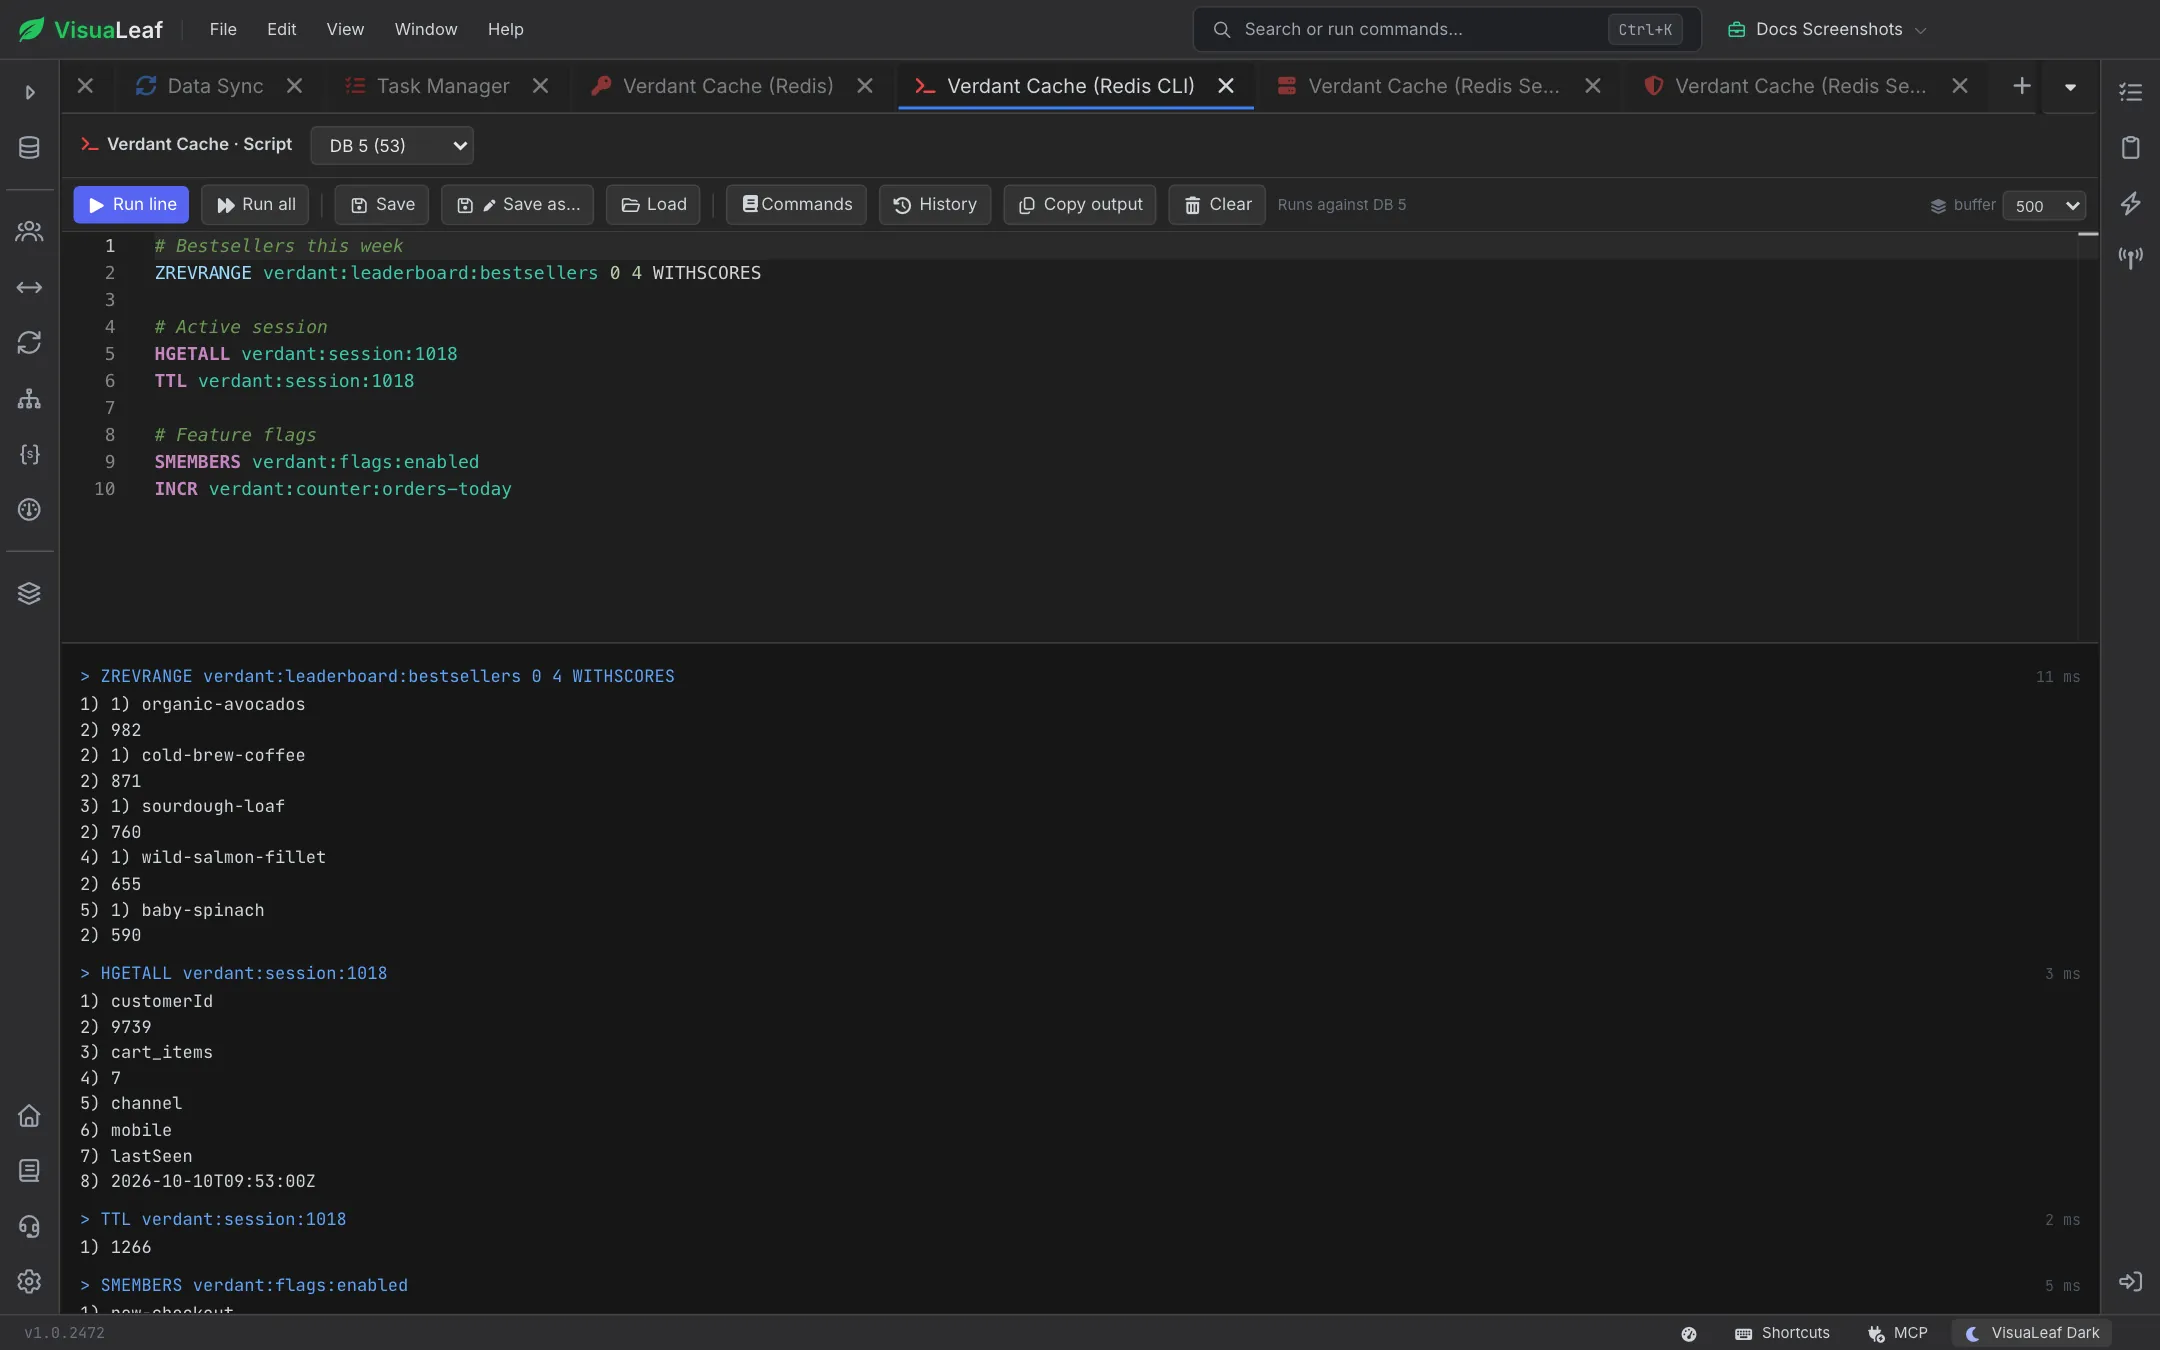
- Run line runs the command under the cursor. Run all runs the whole script.
- The database picker sets which DB the script runs against.
- Save, Save as… and Load keep scripts in the same saved-items library as your Shell and SQL scripts.
- History lists the commands you ran so you can run them again.
- Copy output and Clear work on the output pane. buffer limits how many output entries are kept.
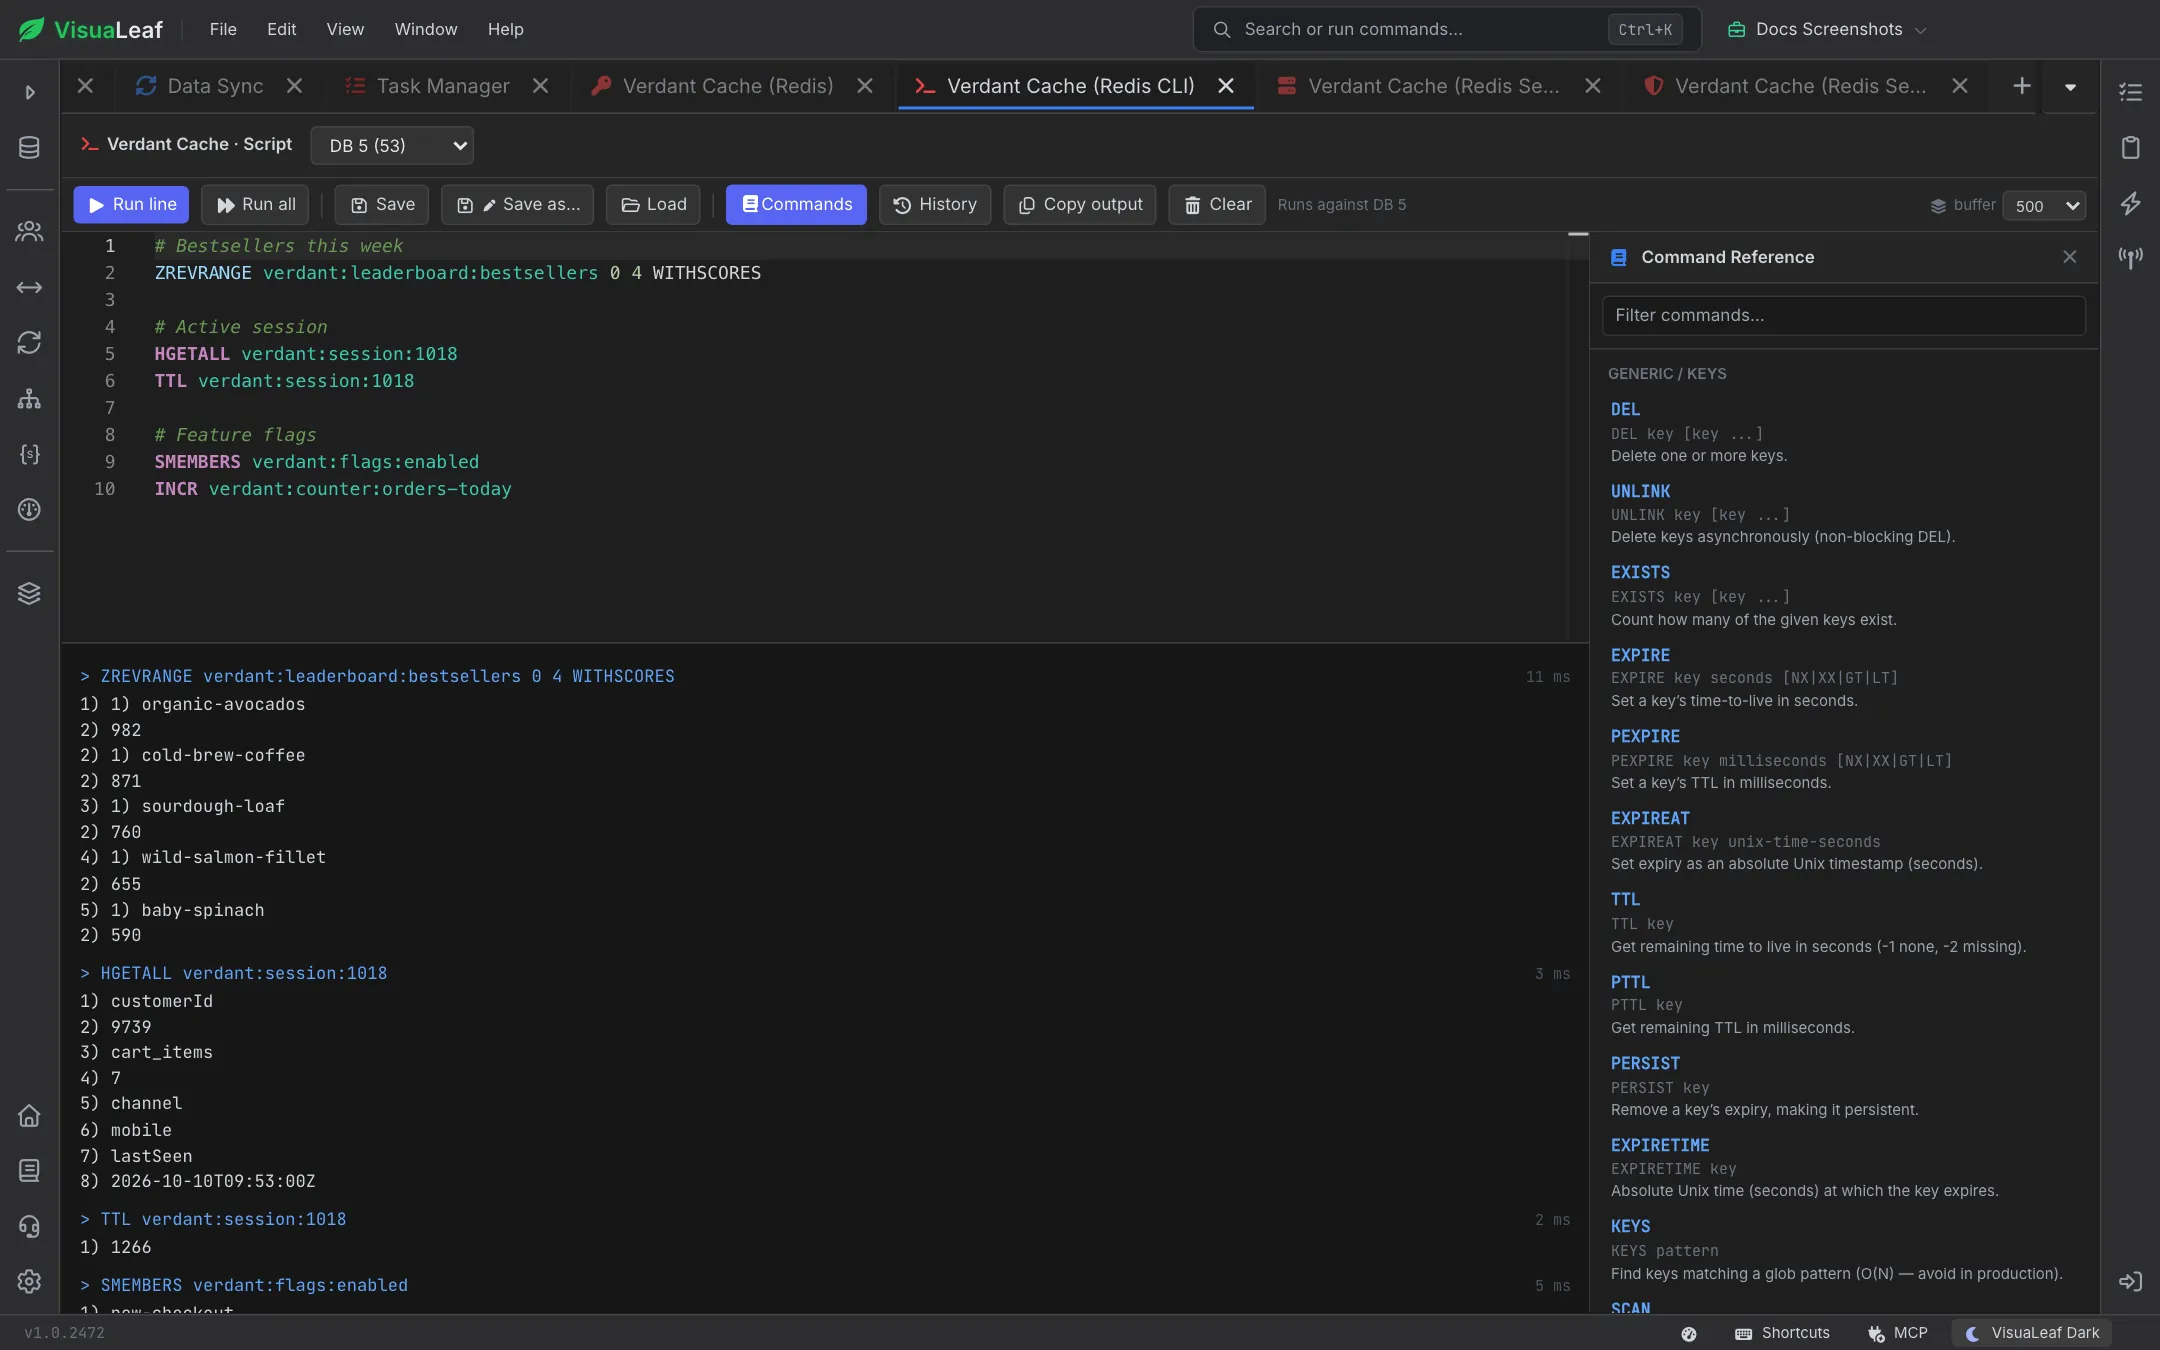
Click Commands to open a searchable command reference beside the editor, with each command's syntax and a short description, grouped by area.
Server Info
Open Server Info shows the health of the server at a glance: version and mode, uptime, connected clients, memory used and peak, total keys, operations per second, cache hit rate and memory fragmentation. Below the cards, every INFO section (Server, Clients, Memory, …) is laid out as a readable table, along with any loaded modules.
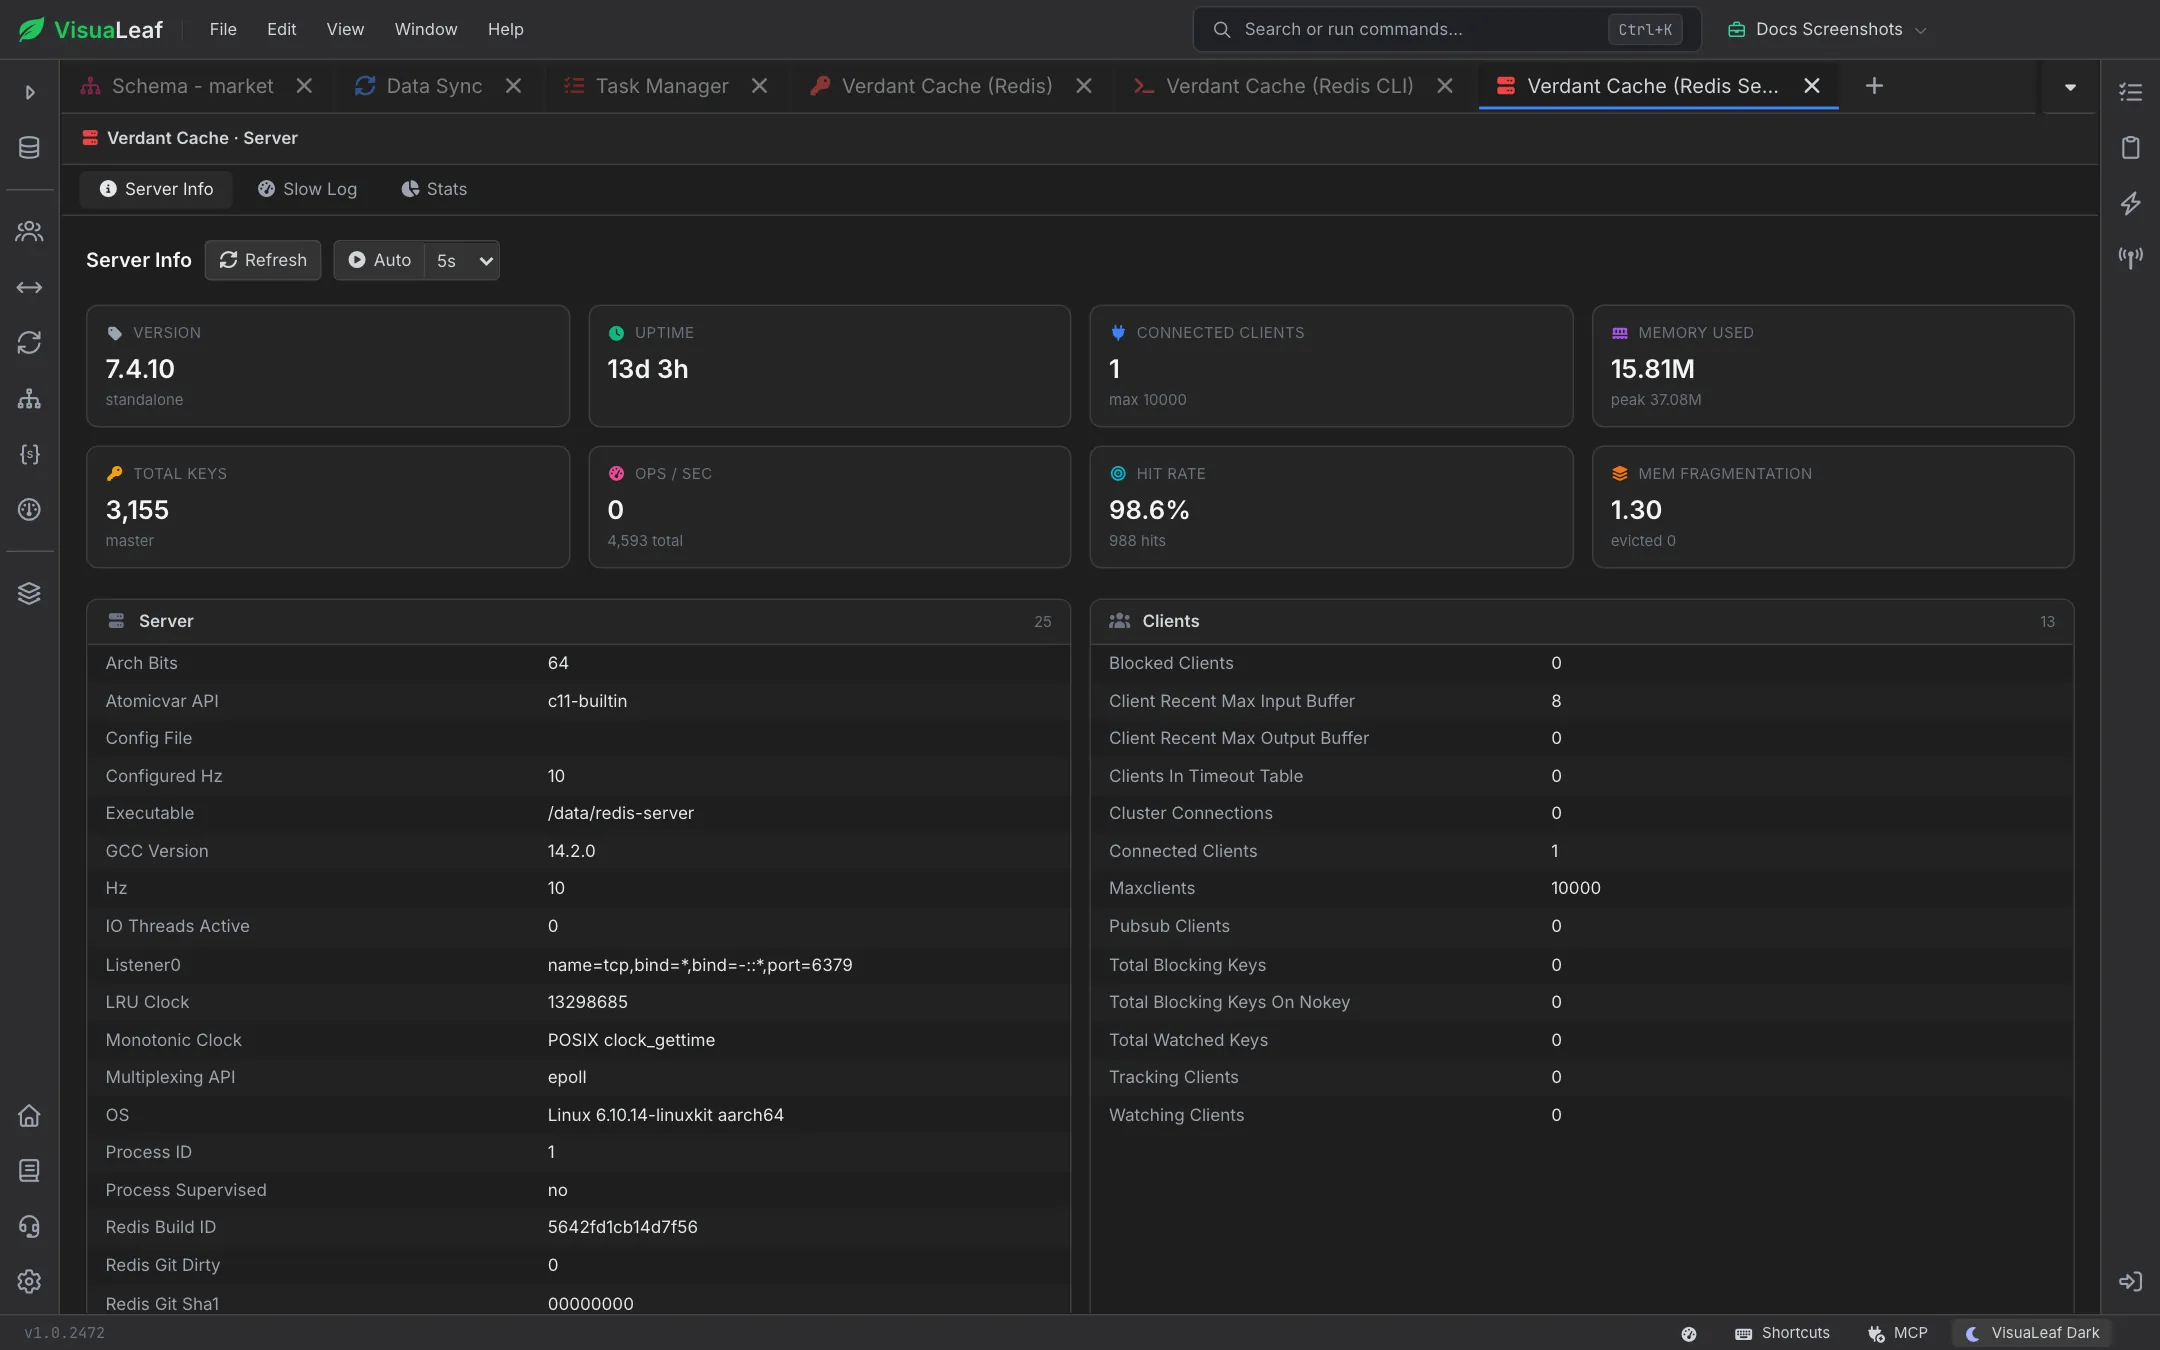
Click Refresh to update, or turn on Auto refresh at the interval you choose. The Slow Log tab lists slow commands, and Stats shows server statistics. On a cluster, an extra Cluster tab lists each node with its role, endpoint and slots.
Users & Security
Users & Security manages Redis ACL users. The header shows the platform, server version, the user you're connected as and how ACL changes are persisted. Summary cards count total, enabled, disabled, passwordless and full-access users and users with selectors. The table lists each user's status, passwords, command rules and key patterns.
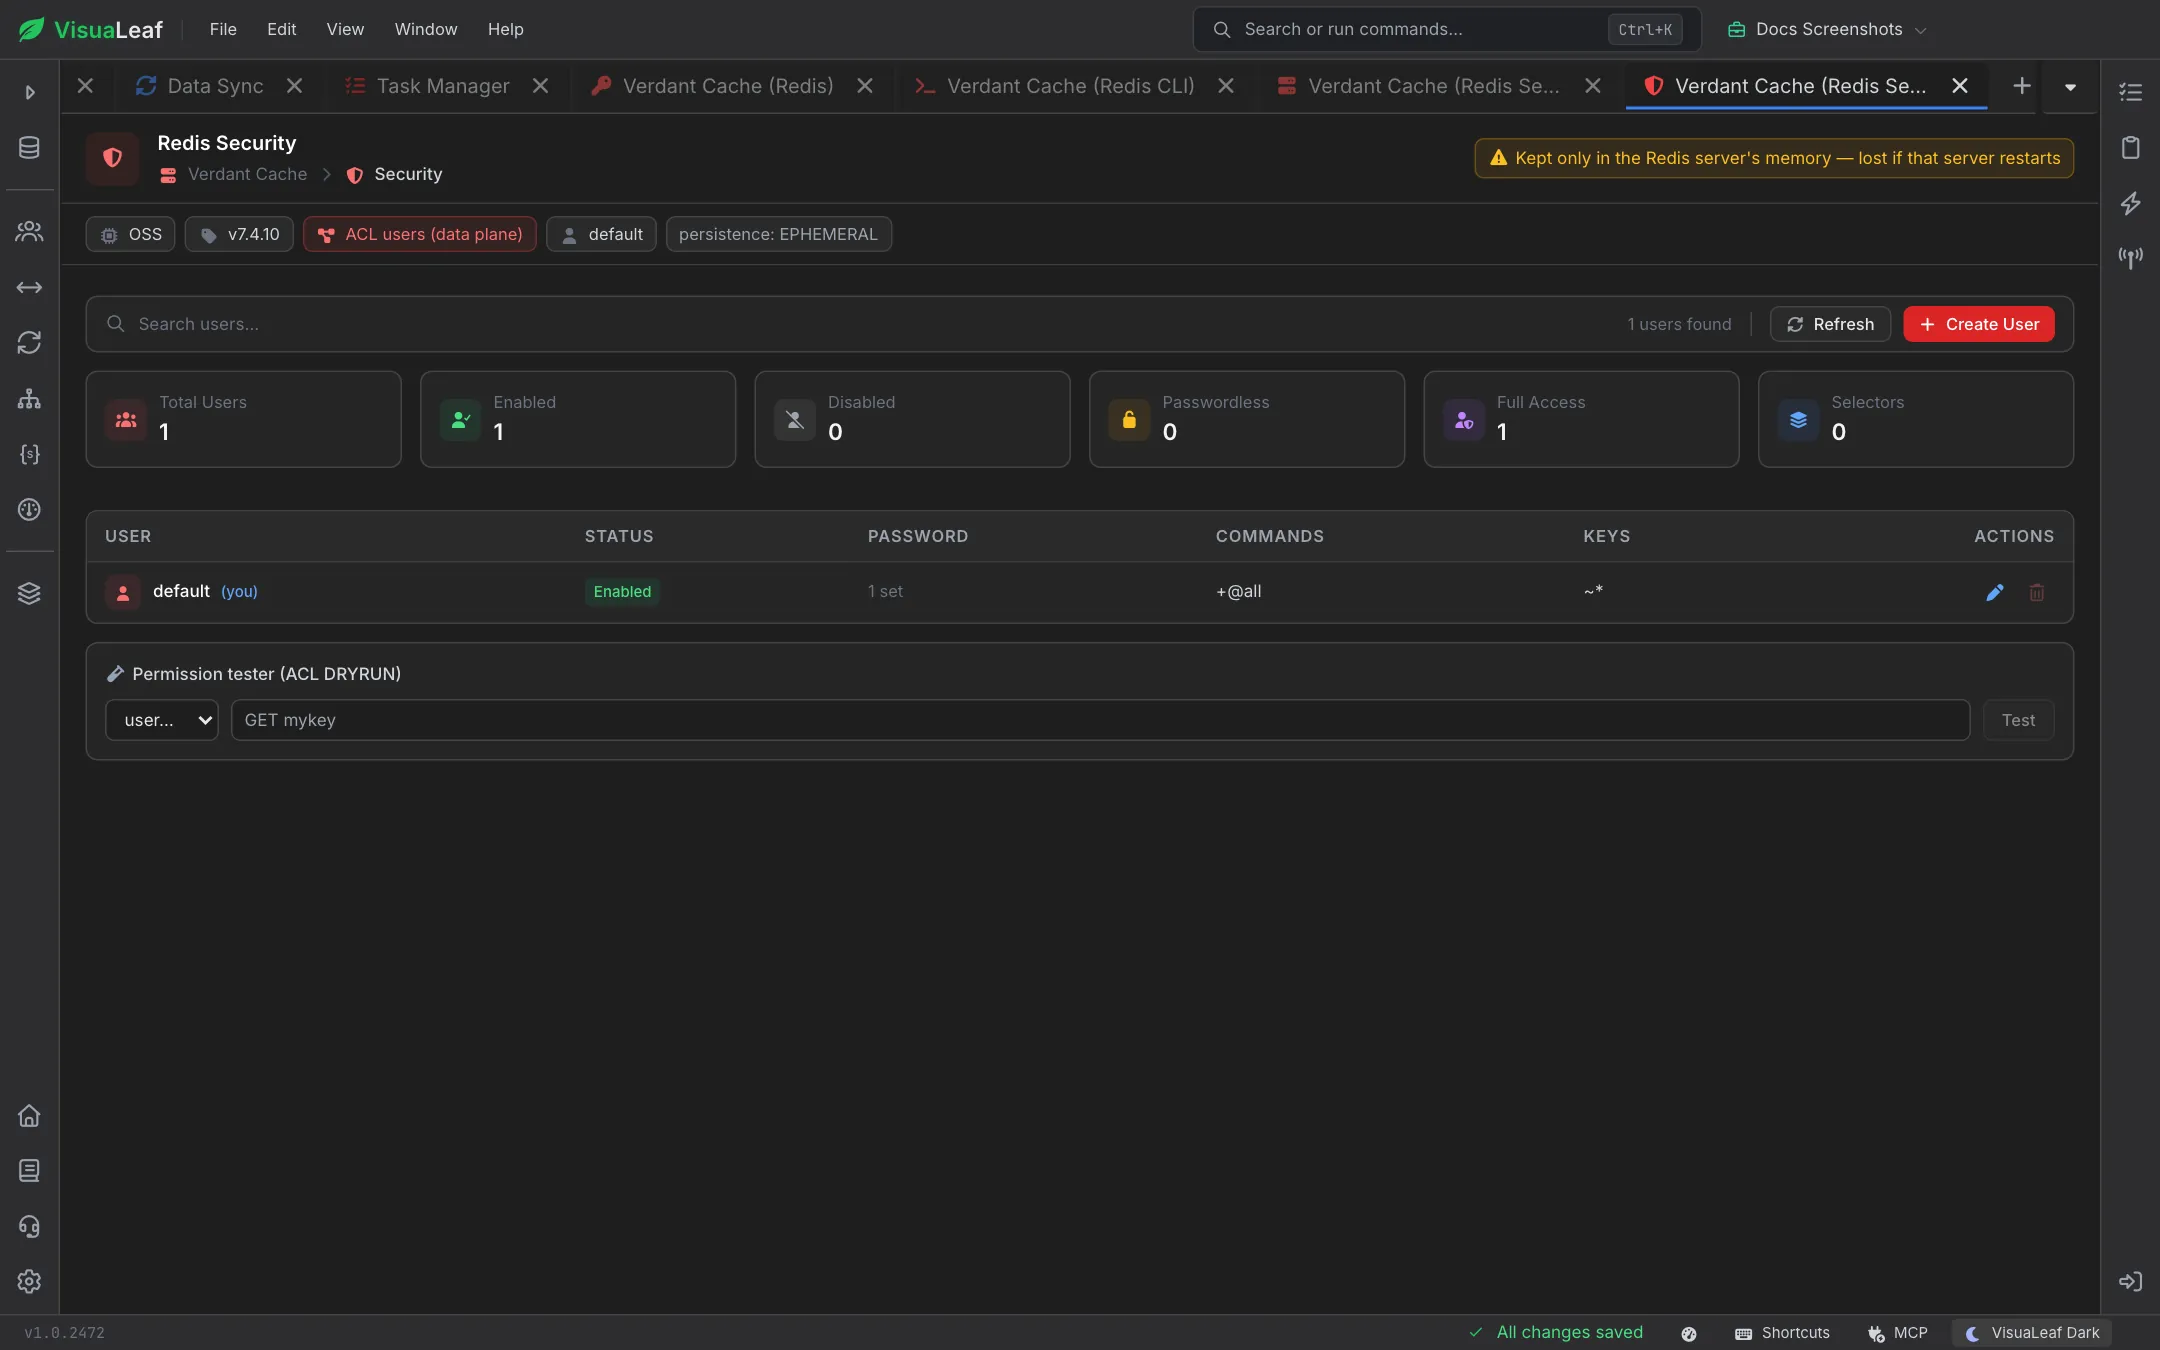
- Create User adds a user. The pencil and bin icons edit or delete one.
- Search users filters the table.
- The Permission tester checks whether a user may run a command, such as
GET mykey, without actually running it.
If the server keeps ACLs only in memory, a banner warns that changes are lost when the server restarts. If the server has an ACL file configured, use Save to disk to make your changes survive a restart. On Redis Enterprise and Redis Cloud connections, this screen manages users, roles and ACL rules through those platforms instead.
Pro Tips
- Narrow before you scan: a specific pattern and type filter keeps scans fast on large databases.
- Start from a namespace: double-click a namespace in the sidebar to open the browser already filtered to it.
- Save recurring searches: a saved search keeps the pattern, type and value filters together.
- Script your checks: save a CLI script of the commands you use to inspect a feature, and reload it whenever you need it.
- Test before you grant: use the permission tester to confirm a new user can do exactly what they need and nothing more.
Related Features
- Connection Manager - Add and edit Redis connections
- Sidebar - Browse Redis databases and namespaces in the connection tree
- Saved Queries - Reopen saved Redis scripts and key searches
- Server Info - The equivalent server view for MongoDB
Ready to try VisuaLeaf?
Download and start managing your MongoDB and SQL databases with ease.
Download Free Trial